Cronhooks: Schedule Make scenario webhooks + Mailgun

Make is really a great tool for automating tasks. One of its feature is webhooks, you can invoke that webhook to call your Make scenarios and that is a great fit for Cronhooks. Make also provides built-in scheduling but that works with pre-provided parameters but if you need to schedule same webhook multiple times with custom parameters thats currently not possible. Here Cronhooks comes into play.
Let's say you are collecting data using a scenario and you want to schedule an email on a later date. For this to work you will have to create two scenarios. One for collecting data and second for sending email on a scheduled date.
1. Data Collection webhook
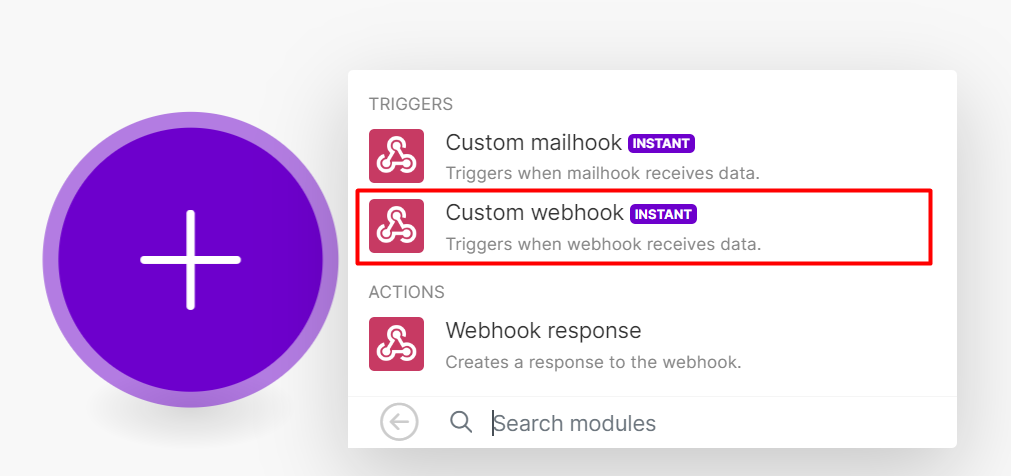
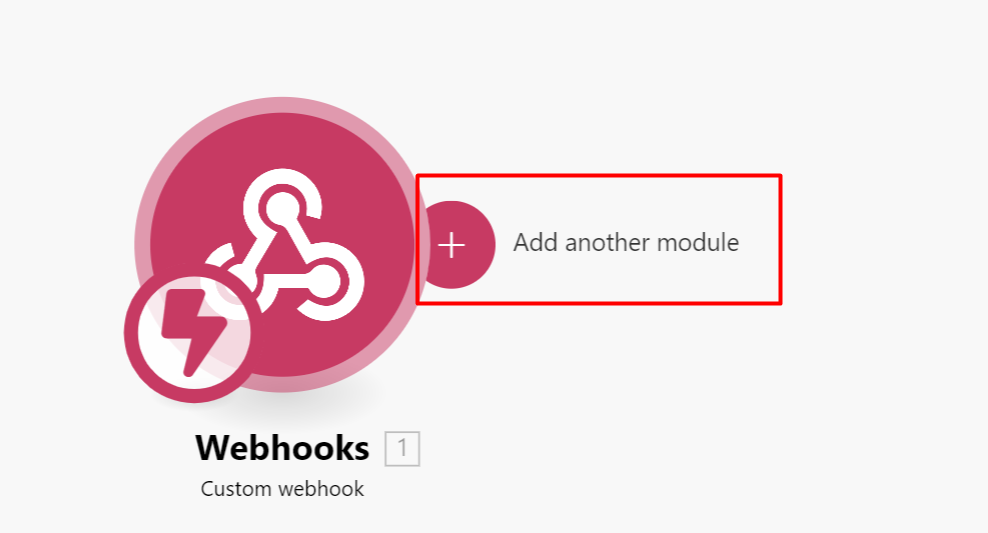
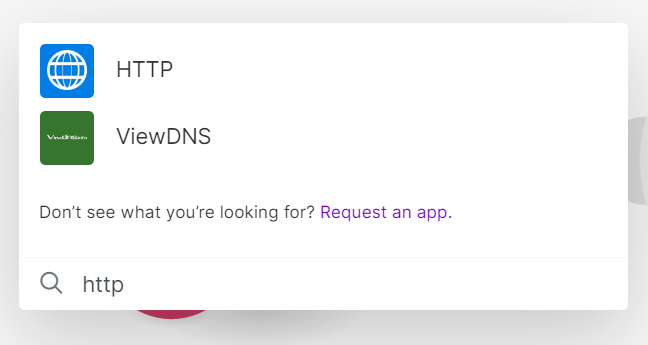
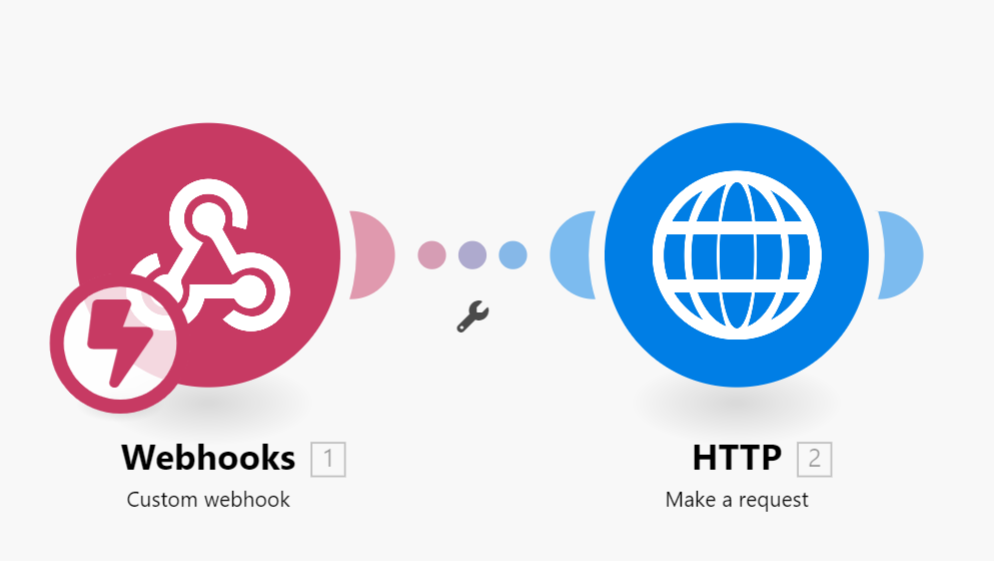
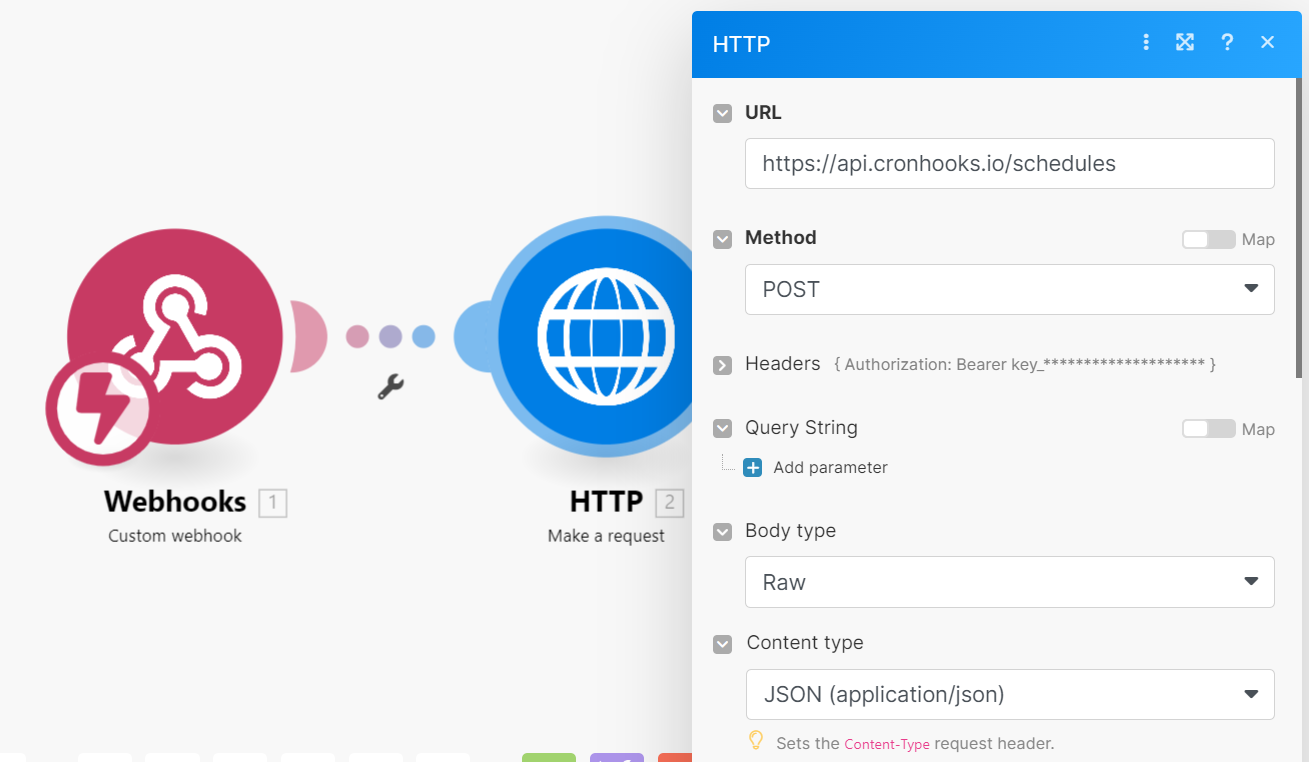
Create a scenario, add webhooks module and choose "Custom webhook" trigger then click "Create a webhook", give it a name (i.e. collection webhook) and in advanced settings set "JSON pass-through" to No. This will give you a url which we will later use to collect data. Link same module with another module "HTTP" then select "Make a request" option. Add these parameters for HTTP request module.
URL: https://api.cronhooks.io/schedules
Method: POST
Headers:
Authorization: Bearer <CRONHOOKS_API_KEY>
Body type: RAW
Content type: JSON (application/json)
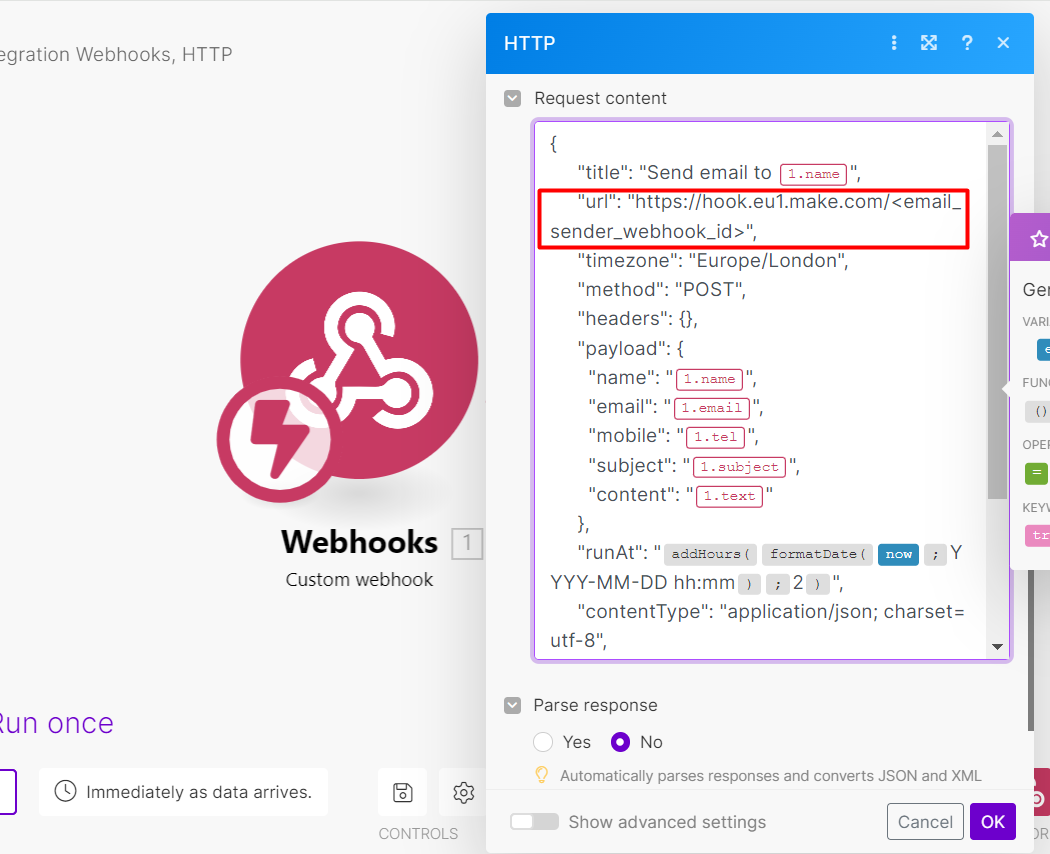
Request content:
{
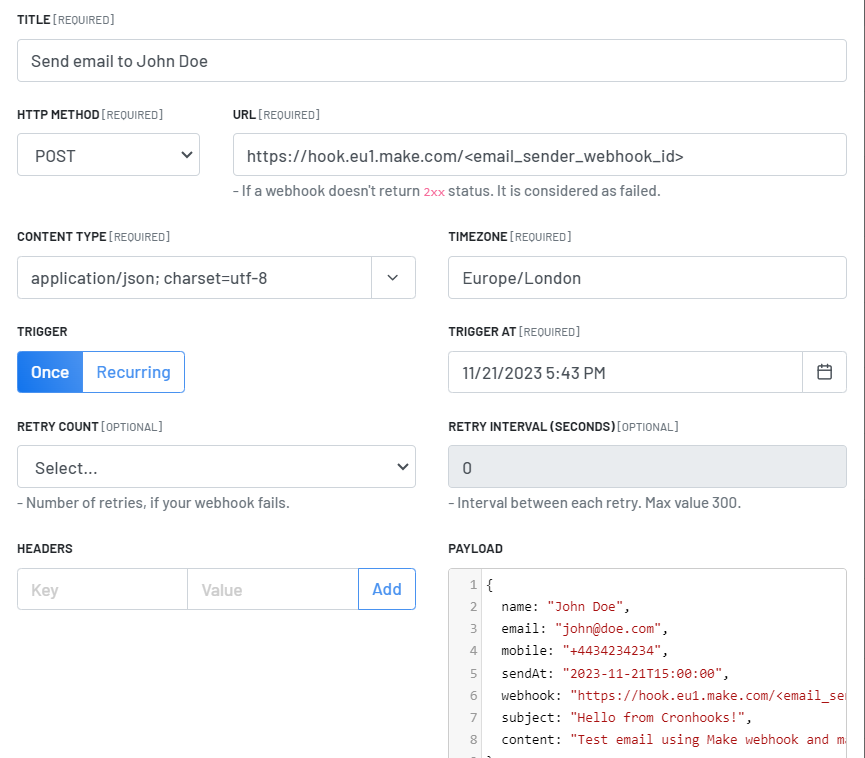
"title": "Send email to {{1.name}}",
"url": "https://hook.eu1.make.com/<email_sender_webhook_id>",
"timezone": "Europe/London",
"method": "POST",
"headers": {},
"payload": {
"name": "{{1.name}}",
"email": "{{1.email}}",
"mobile": "{{1.mobile}}",
"subject": "{{1.subject}}",
"content": "{{1.text}}"
},
"runAt": "{{addHours(formatDate(now; "YYYY-MM-DD hh:mm"); 2)}}", // schedule after 2 hours
"contentType": "application/json; charset=utf-8",
"isRecurring": false,
"cronExpression": "",
"sendCronhookObject": false,
"sendFailureAlert": false,
"retryCount": "0",
"retryIntervalSeconds": "0"
}
Parse response: No
 and click OK and save scenario. Your data collection webhook is ready now.
2. Email sending webhook
Now lets create second scenario which will be used to send emails using mailgun API, you could use any email provider of your choice or even do something else like sending sms or whatsapp messages.
Before creating email sending scenario, head to connections and add Mailgun API.
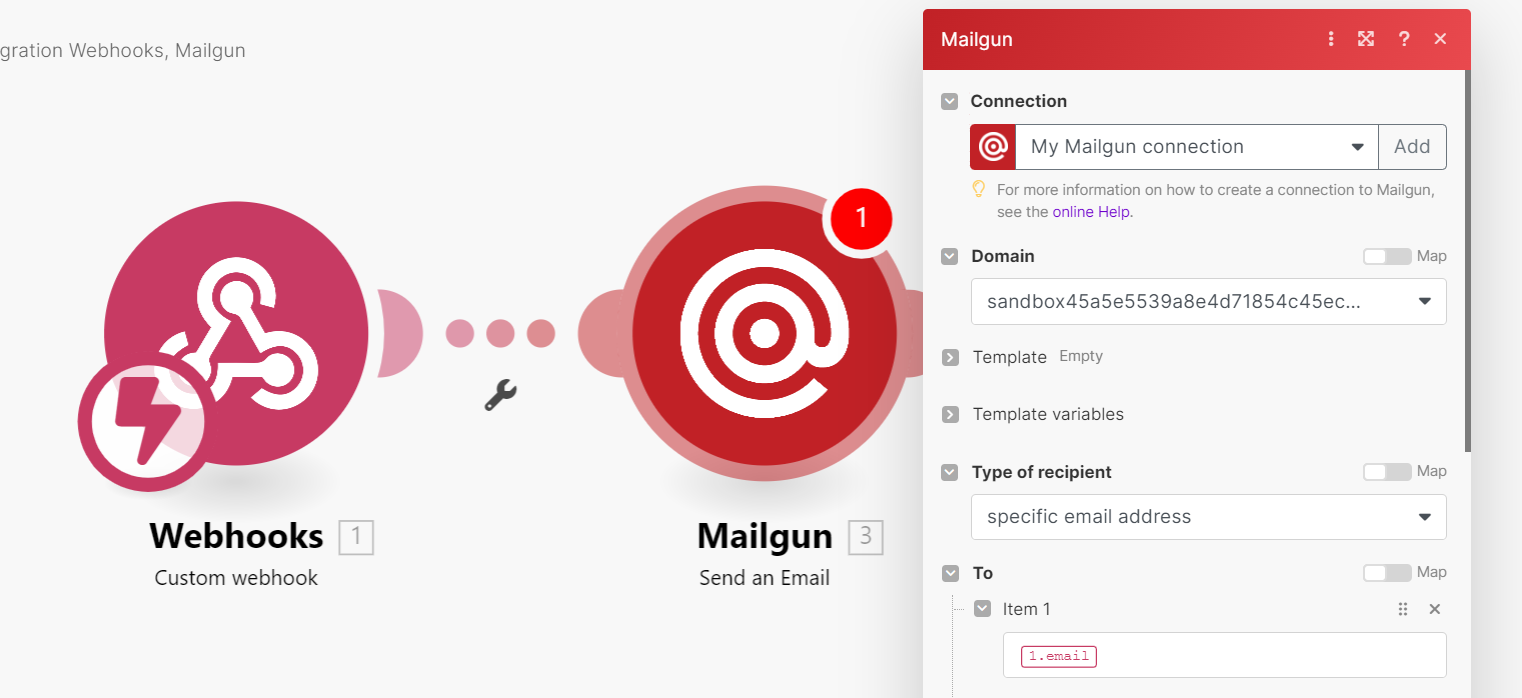
Similarly create a scenario add "Webhooks" module but this time link it to "Mailgun" module instead of "HTTP" module. While adding "Mailgun" module choose option "Send an email".
Connection: <Choose the connection>
Domain: <Choose_Domain> // will be auto populated from your mailgun account
Type of recipient: Specific email address
To: {{1.email}}
Subject: {{1.subject}}
Format: HTML
HTML: {{1.content}}
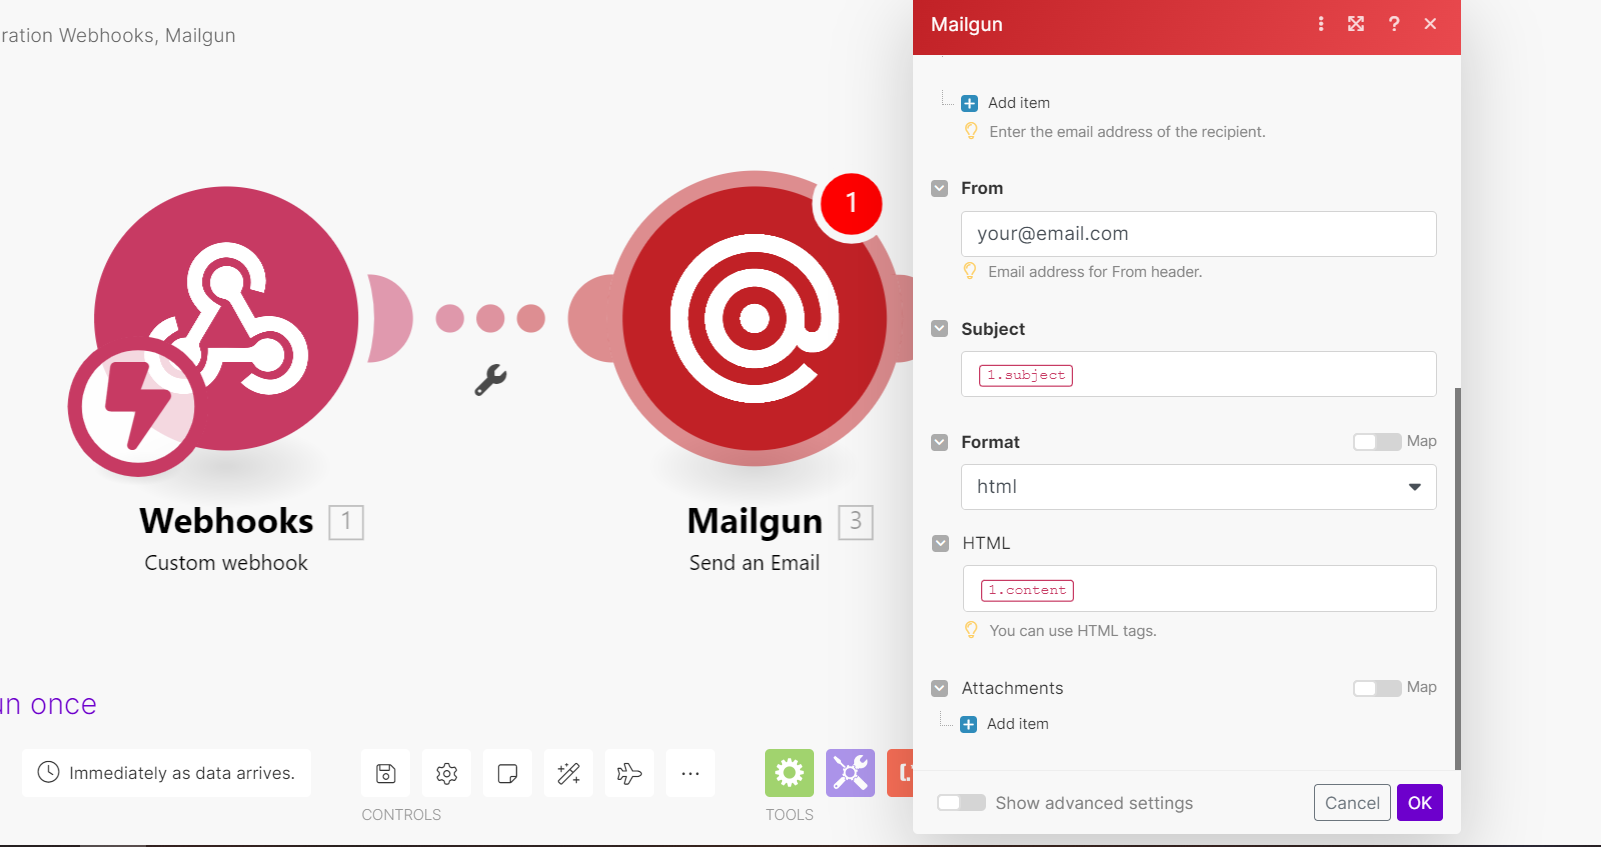
and click OK and save scenario. Your email sending webhook is ready now.
You can check more details to data manipluation from webhooks here.
3. Plugging in altogether
Now we have everything we need. We have two scenarios, one for data collection and one for sending scheduled emails.
Lets say you have a web form to collect data and that form will send data to our data collection webhook something like below code.
var request = require('request');

request.post(
    'https://hook.eu1.make.com/<data_collection_webhook_id>',
    {
        name: "John Doe",
        email: "[email protected]",
        mobile: "+4434234234",
        subject: "Hello from Cronhooks!",
        content: "Test email using Make webhook and mailgun."
    },
    function (error, response, body) {
        if (!error && response.statusCode == 200) {
            console.log(body);
        }
    }
);
So what is happening right now? Here's what:
When your web form will send data to data collection webhook this will create a schedule in Cronhooks. In Cronhooks you will see your email sending webhook and payload which you have sent via webform. Now this email sender webhook will be invoked on provided date which is 2 hours from time of receiving data and an email will be sent out as it was configured in our scenario.
Everytime data is submited via web form, a schedule will be created and that will be triggered as per provided date.
To explore Cronhooks in more detail, visit the official website: Cronhooks.